Getting Started With CoreSSH Server
Requirements: CoreSSH Server
Introduction
CoreSSH Server is an easy-to-use solution for managing the server-side of secure file transfer. This guide will focus on the simple steps get up and running with the server.
Setting up CoreSSH Server
CoreSSH Server requires no initial configuration to get started. You may optionally configure Network settings or set a base directory for SFTP access in the Default Root Directory setting. After making any changes, click Save Changes to apply them.

Creating a User
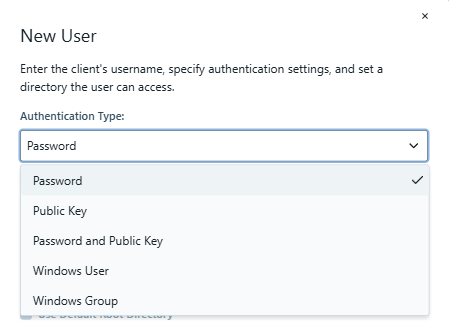
Navigate to the Users page in the Admin Console and click New User... Enter the username, password, and default directory. For more information on types of users see the User Accounts topic. For more information on best practices see the Security topic.

After the user has been created it will be added to the Users list. The Status column shows whether the user is enabled and allowed to authenticate to the server.

Starting the Server
CoreSSH Server starts automatically upon installation. You can control the status using the Admin Console, system tray controls, or the Windows Service Manager itself. To connect via SFTP, open an SSH client and enter the server's IP address and port number (default: 22). Provide valid credentials and you are ready to transfer files securely.
sftp myuser@localhost
Additional Information
Once the server is configured and clients can authenticate, files can be transferred freely. Additional configuration information is available in the CoreSSH Server help file, which can be accessed through the Contents option under the Help dropdown in the top right corner of the application.
We appreciate your feedback. If you have any questions, comments, or suggestions about this article please contact our support team at support@nsoftware.com.

